
Ride A Pet: Blackhole & Cherub Egg Locations, 12 Checkpoints
Follow the retained Blackhole and Cherub egg route through 12 landmark checkpoints, with screenshots, source dates and help when the map differs.
FAQ
Do Blackhole and Cherub eggs use these locations?
Where should I start the route?
What if no egg is at a checkpoint?
Do I have sixty seconds to collect an egg?
Where does the Cherub Egg spawn?
Use the waterfall, cave, desert and giant tree as search landmarks. The 12-stop trail below preserves the route shown by Nay_Kows, with the original screenshots. The recording presents these places for Blackhole and Cherub searches; it does not reserve an egg at any stop. Confirm the object’s own name and pickup prompt before treating a sighting as either egg.
Reviewed 4 November 2026. This article first published on 18 September; the retained recording’s exact client build is unknown. Official events later listed Fuse Machine, Halloween, Parkour Racing, Heaven and Void content. Their titles and dates show that September material needs a version boundary; they do not tell us which old spawn coordinates changed. Use the map guide to compare the landmarks, and Blackhole identification for the photographed alert and egg.
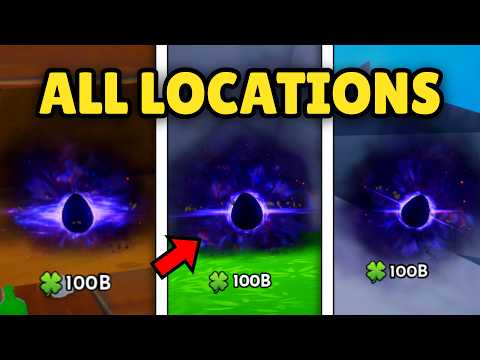
Retained Blackhole and Cherub search route by Nay_Kows — client build unverified
Original visual source: Nay_Kows’ route recording. This is player footage, not a developer-published spawn table or our current gameplay test.
The 12 route checkpoints
Read “point” as a checkpoint in the retained trail. Twelve is the route’s count, not a verified current server cap or complete set of coordinates. Practise the waterfall cluster first; after that, use the pictures to recognize the next area.
| Checkpoint | Landmark to reach | Where to look before moving on |
|---|---|---|
| 1 | Waterfall cliffs | Grassy shelf beside the waterfall |
| 2 | River below the falls | Bend beneath the same cliffs |
| 3 | Waterside cliff | Dark cave mouth at the base |
| 4 | Same cliff from above | Upper landing/ledge shown as #4 |
| 5 | Sharp green mountain | Summit of the pointed peak |
| 6 | Dark cave | Interior floor and back wall, not just the entrance |
| 7 | Lighthouse island | Sand near palms and the white rock arch |
| 8 | Desert pyramid/maze area | Blue pool beside the sandstone structure, then the maze interior |
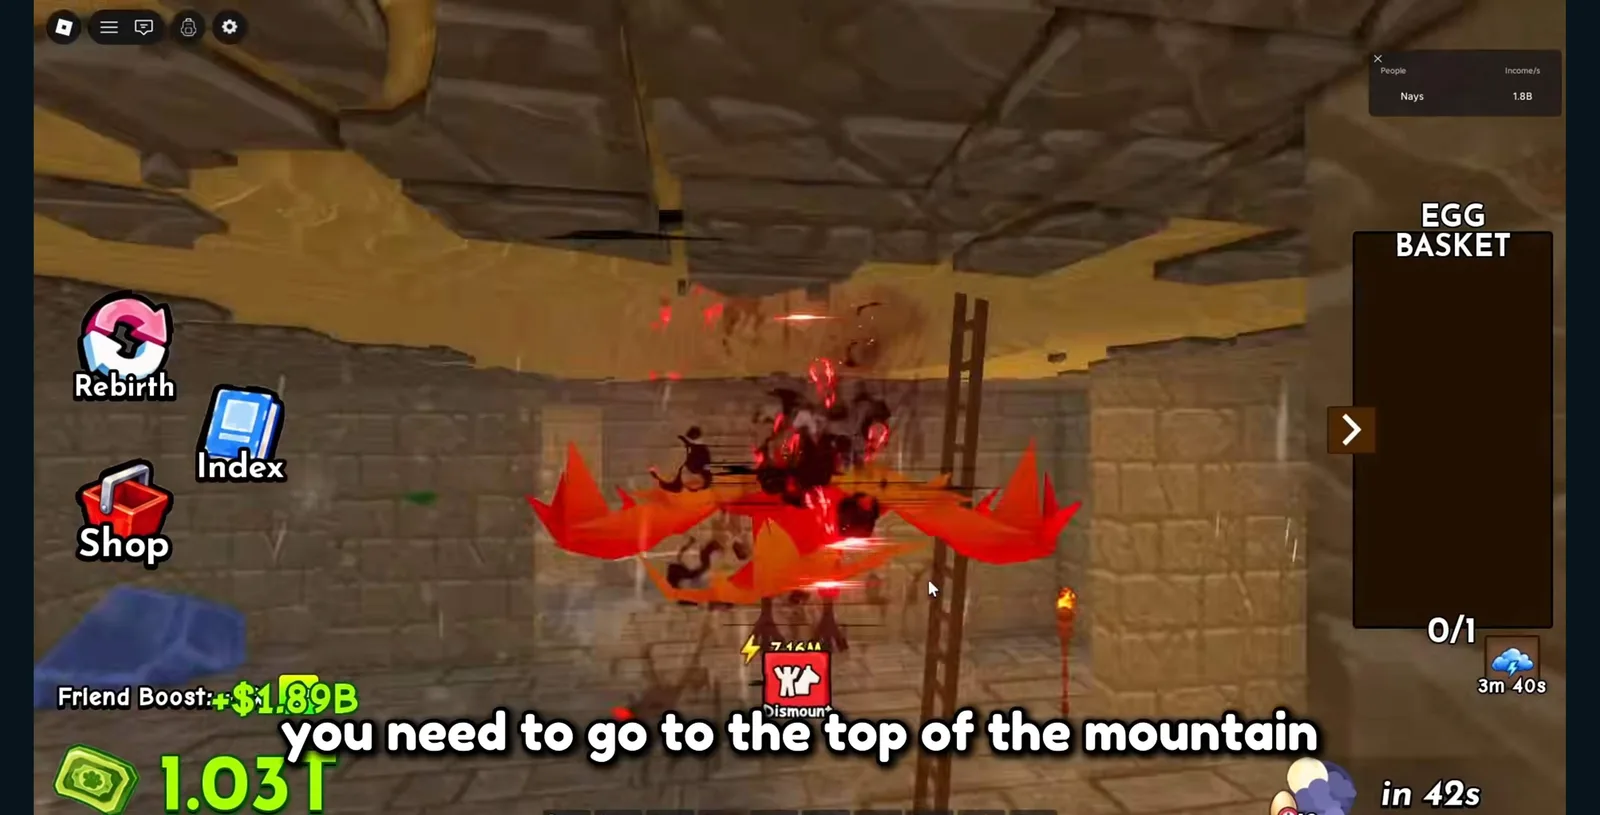
| 9 | Mountain summit | Stone room with a ladder and wall torches |
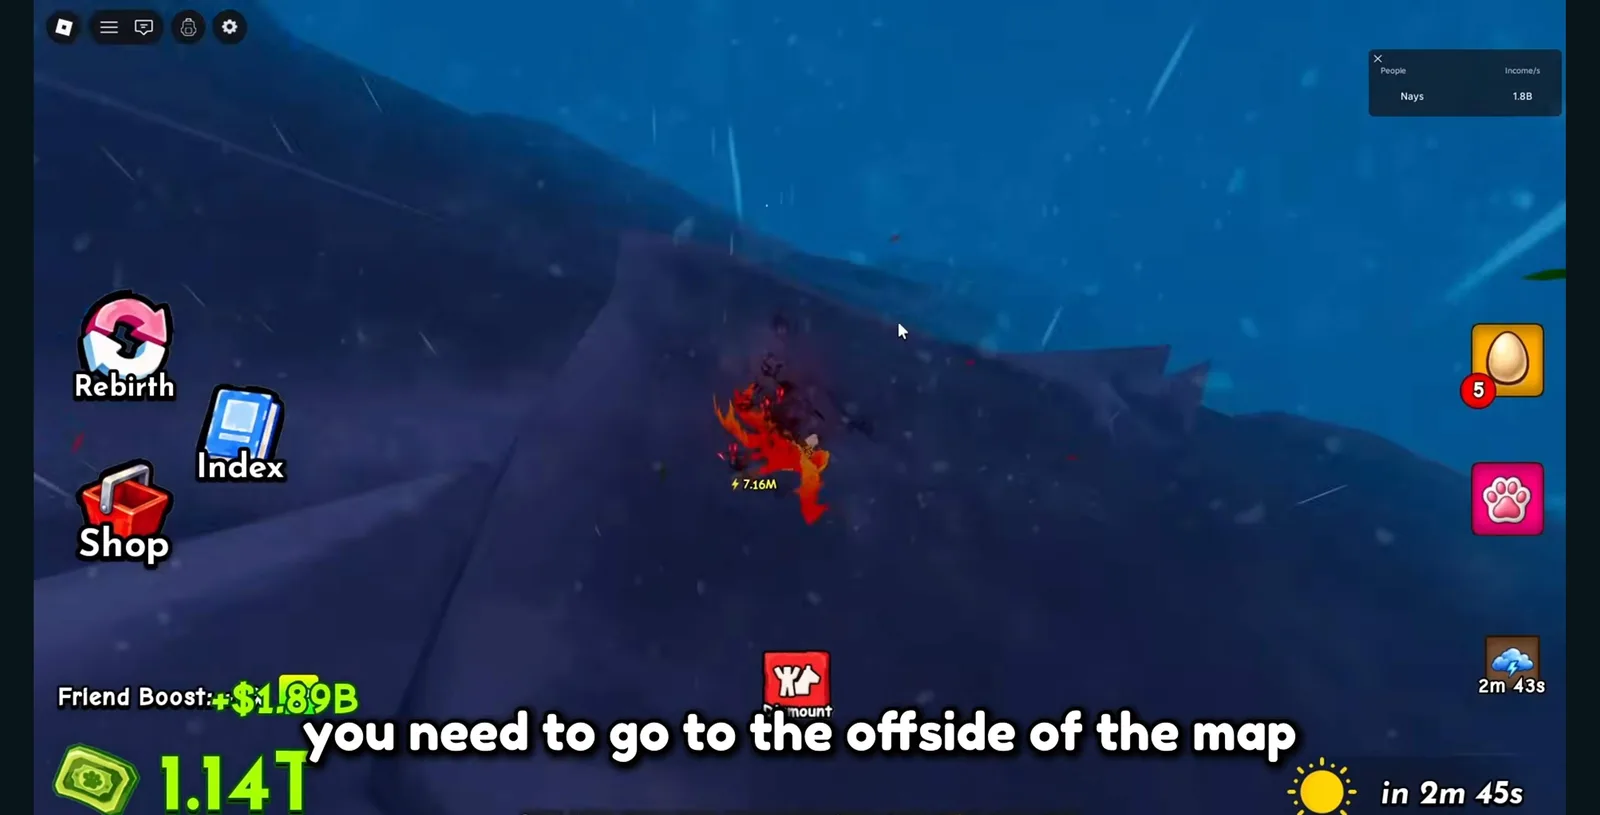
| 10 | Outer map ground | Dark sloping ground shown in the offside frame |
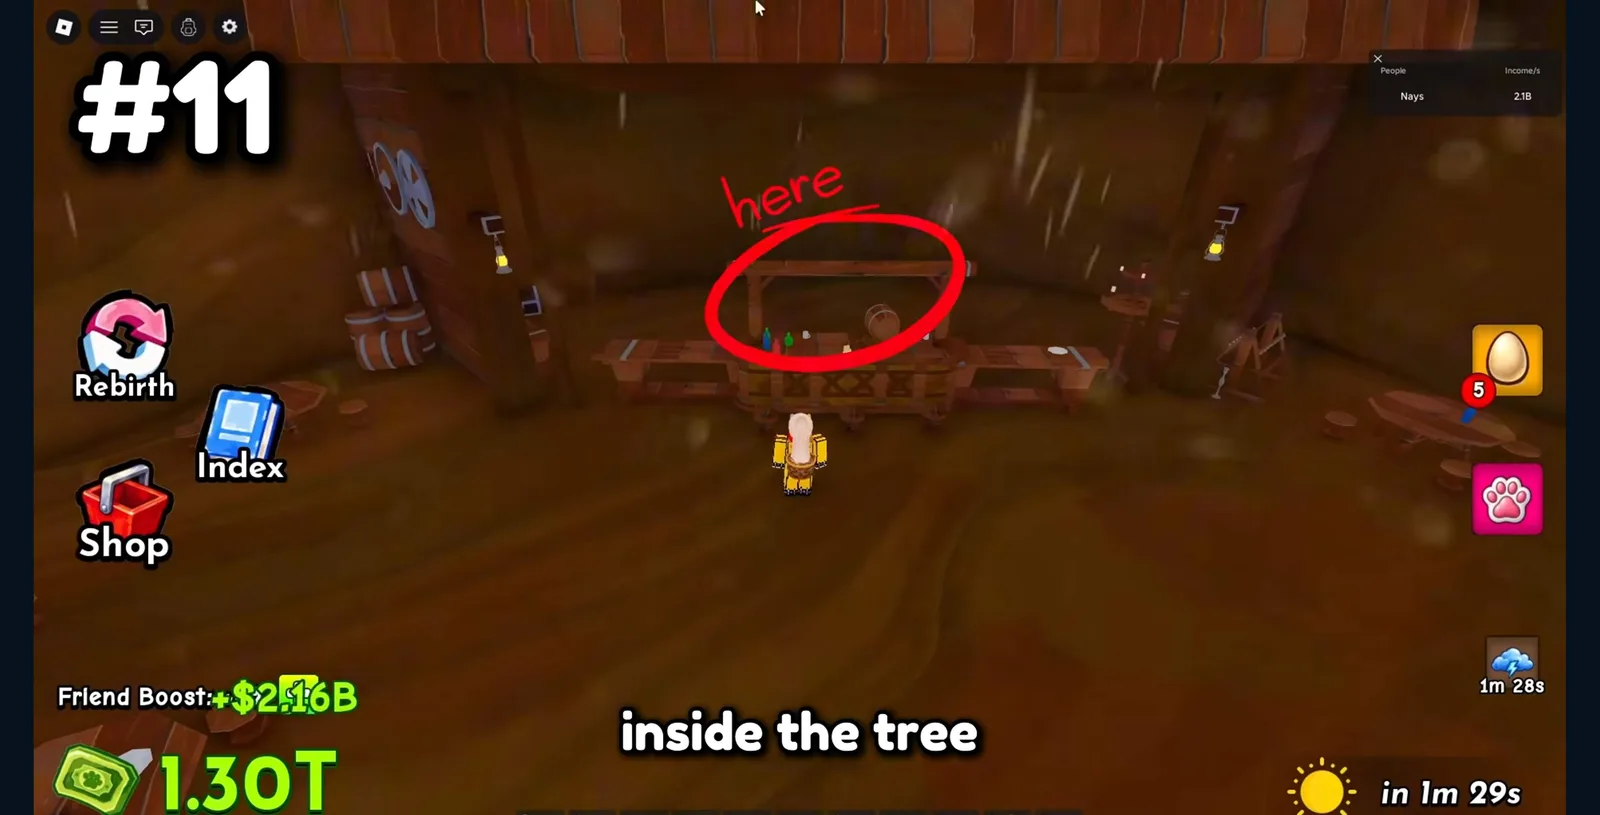
| 11 | Giant tree interior | Workbench/bar shelf among barrels and lanterns |
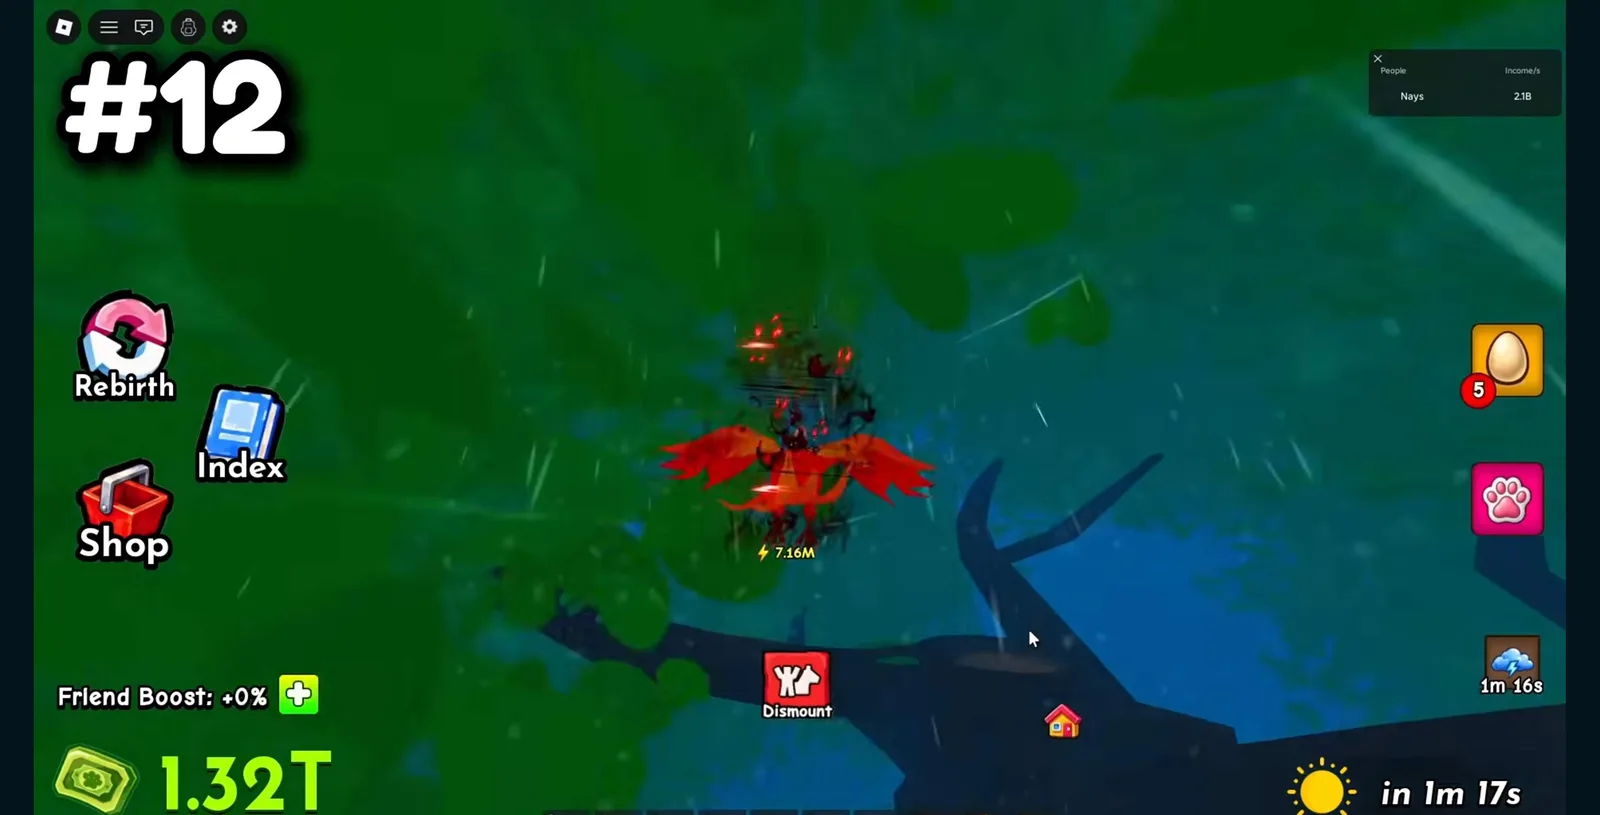
| 12 | Giant tree canopy | Upper trunk and branches shown as #12 |
1–2. Waterfall plateau and the river bend
Find the waterfall first. Inspect the grassy shelf beside it, then follow the water down to the river bend. These are two checks in one area, so looking only from below misses the upper shelf.
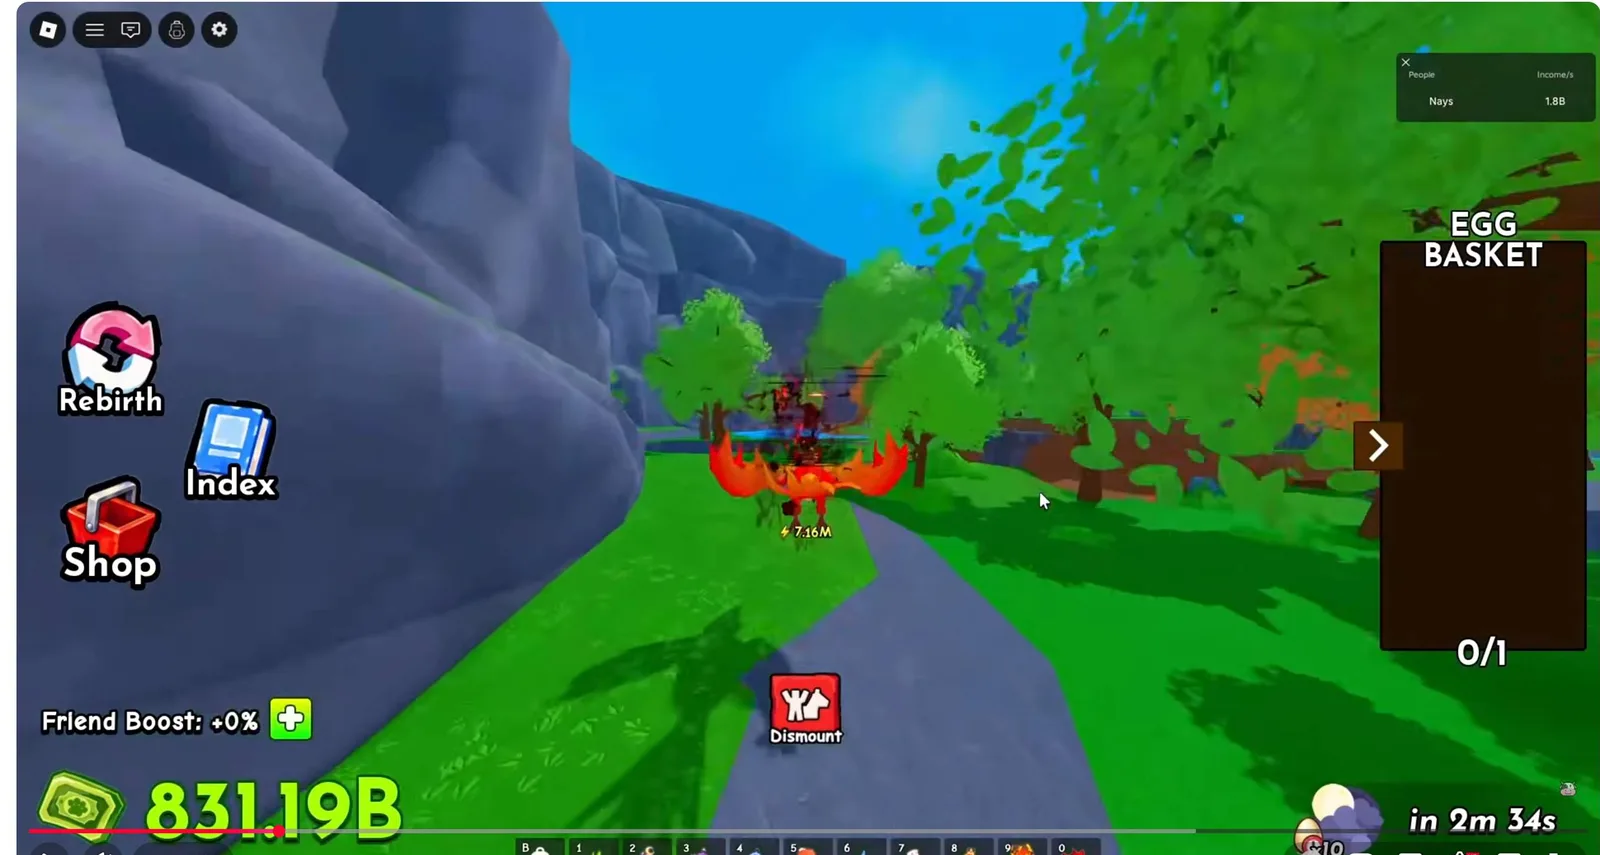
3. Cliff cave mouth
Follow the cliff along the water to the dark opening at its base. Look at the mouth before entering; the entrance and the deeper cave are separate checks in this trail.
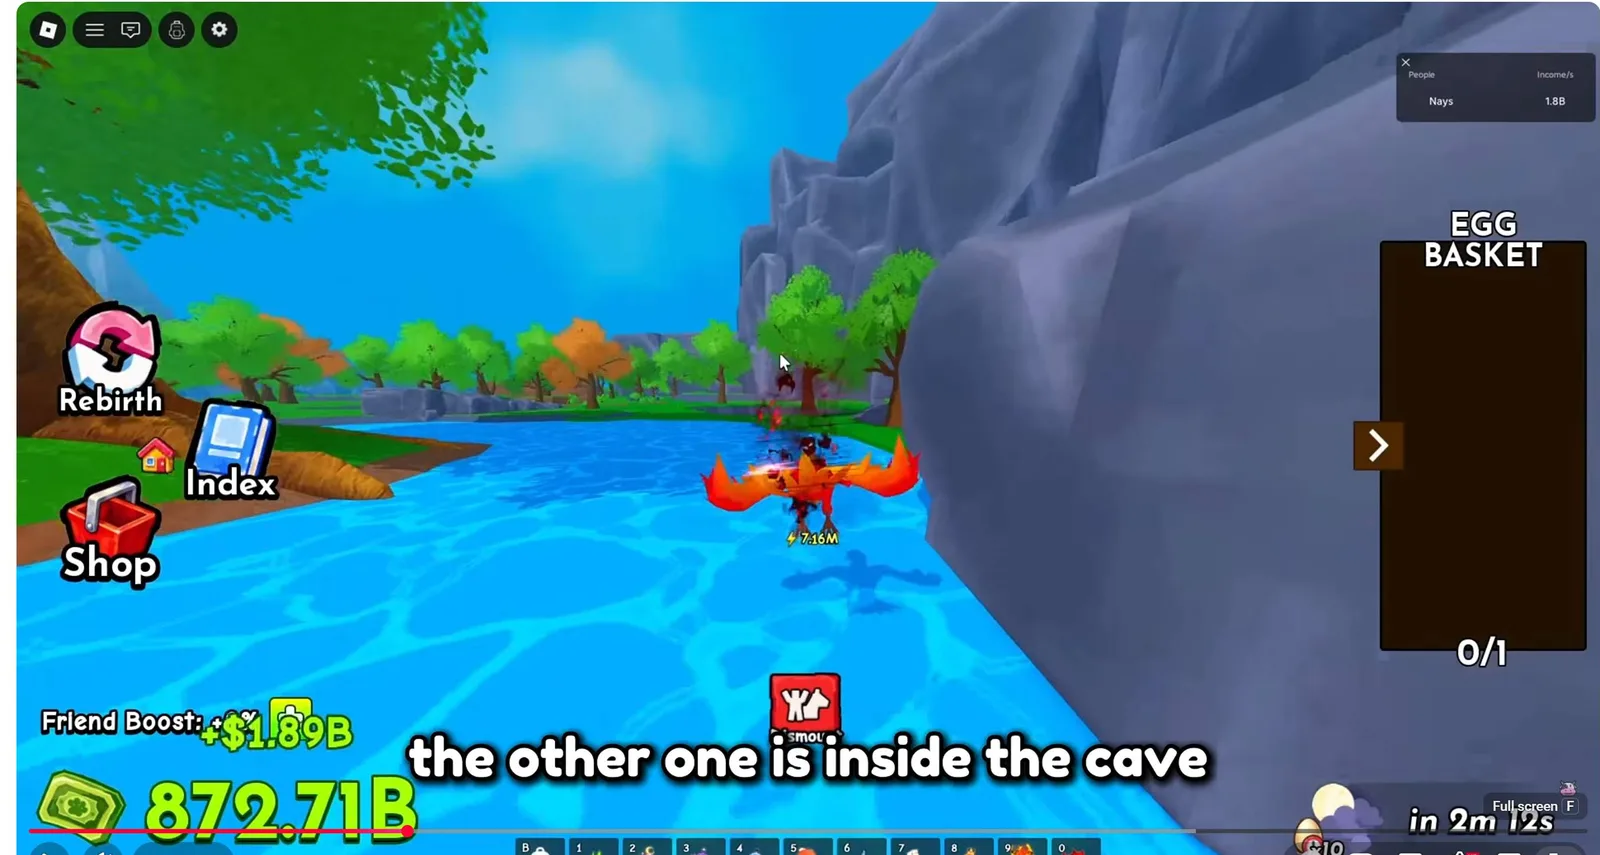
4. Cliff-top ledge
Return to the top of that cliff and compare the landing with the frame marked #4. Use an accessible approach in your version; the recording uses a flying mount, so a ground route is not established by this image.
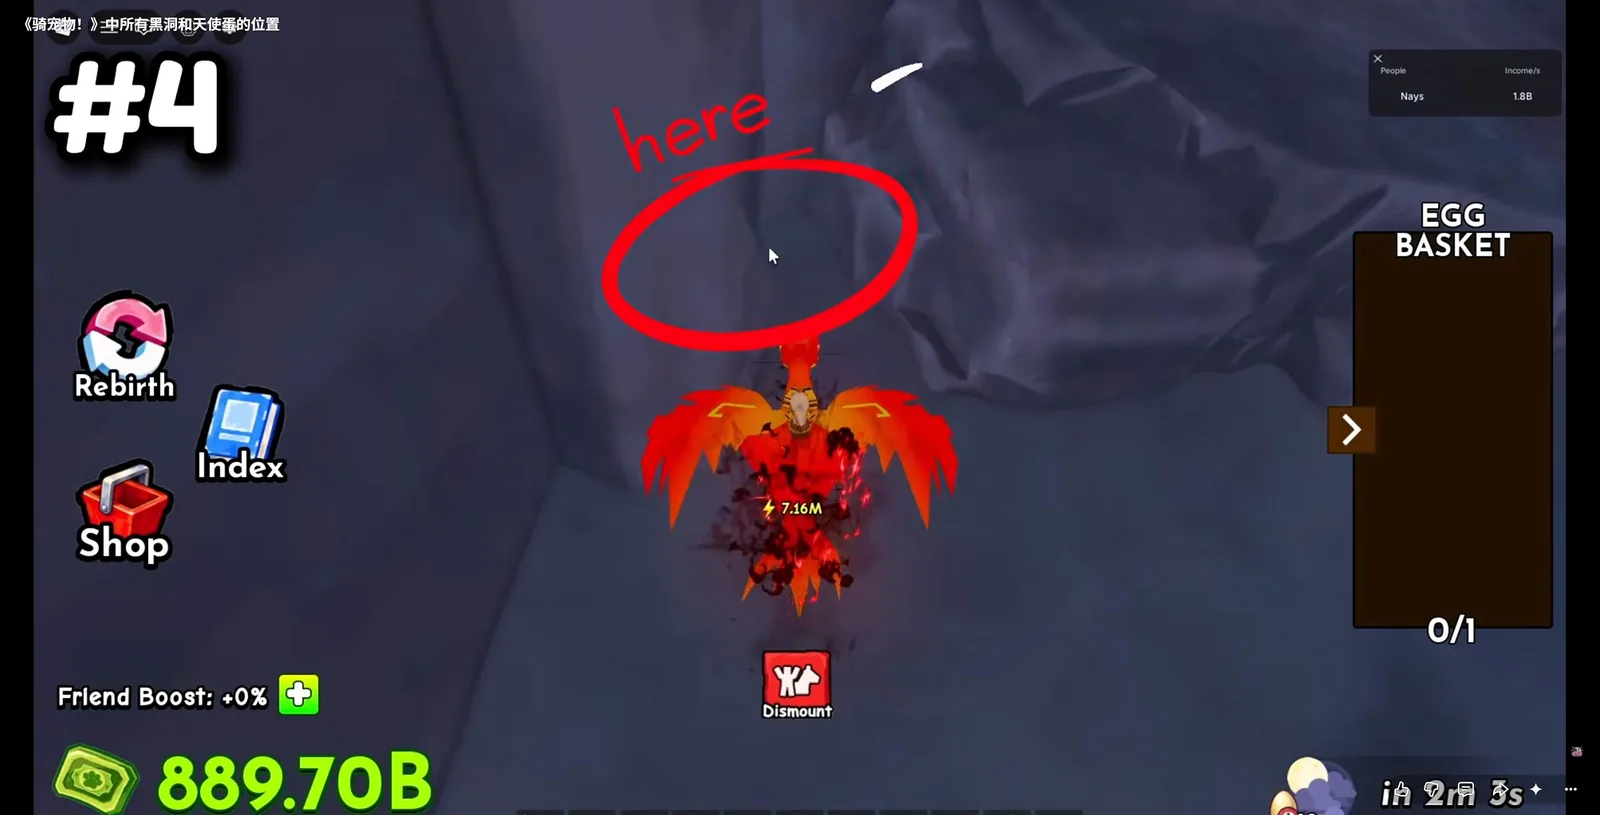
5. Green pointed peak
Look for the sharp green peak, then inspect its summit. The outline of the mountain is the useful landmark; no compass bearing or current coordinate was verified.
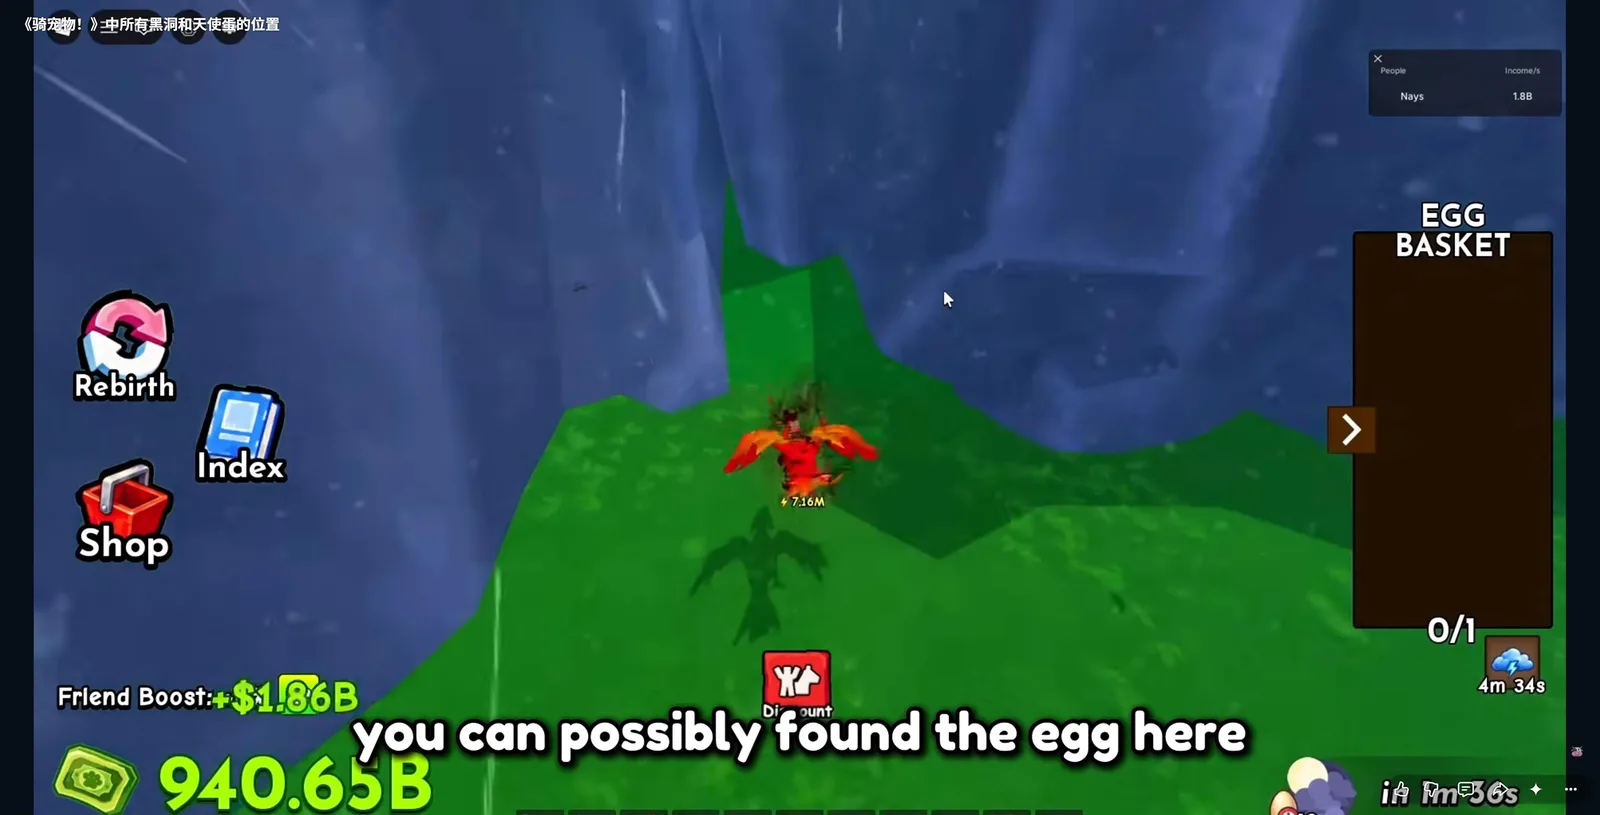
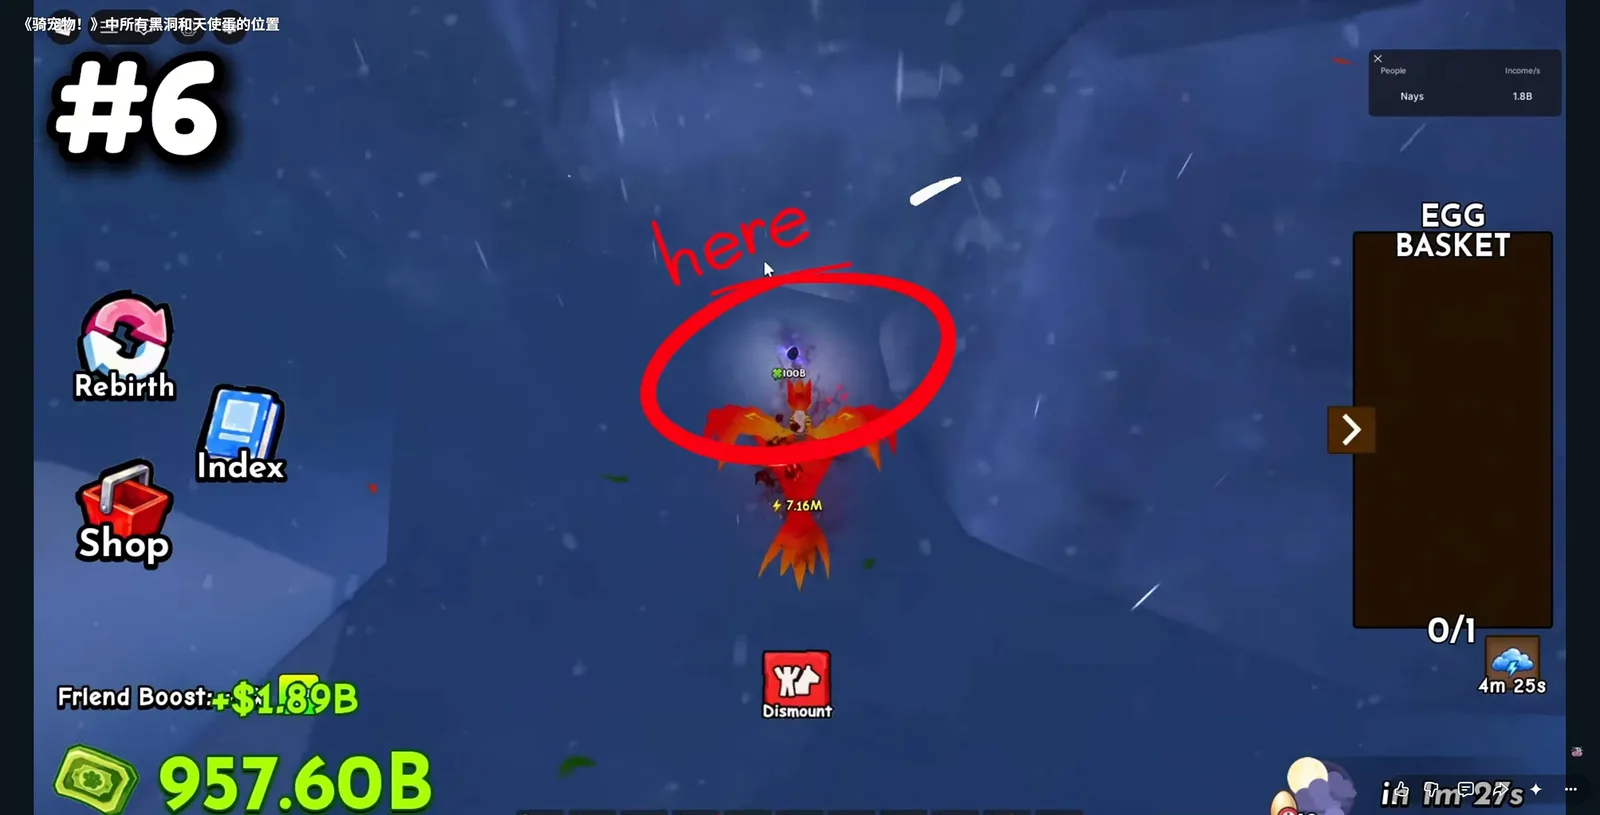
6. Dark cave interior
Enter the matching cave and inspect the floor toward the back, rather than stopping at the mouth. The retained frame shows a dark egg/vortex and a displayed 100B clover value. That single observation does not establish every Blackhole Egg’s current value or hatch odds.
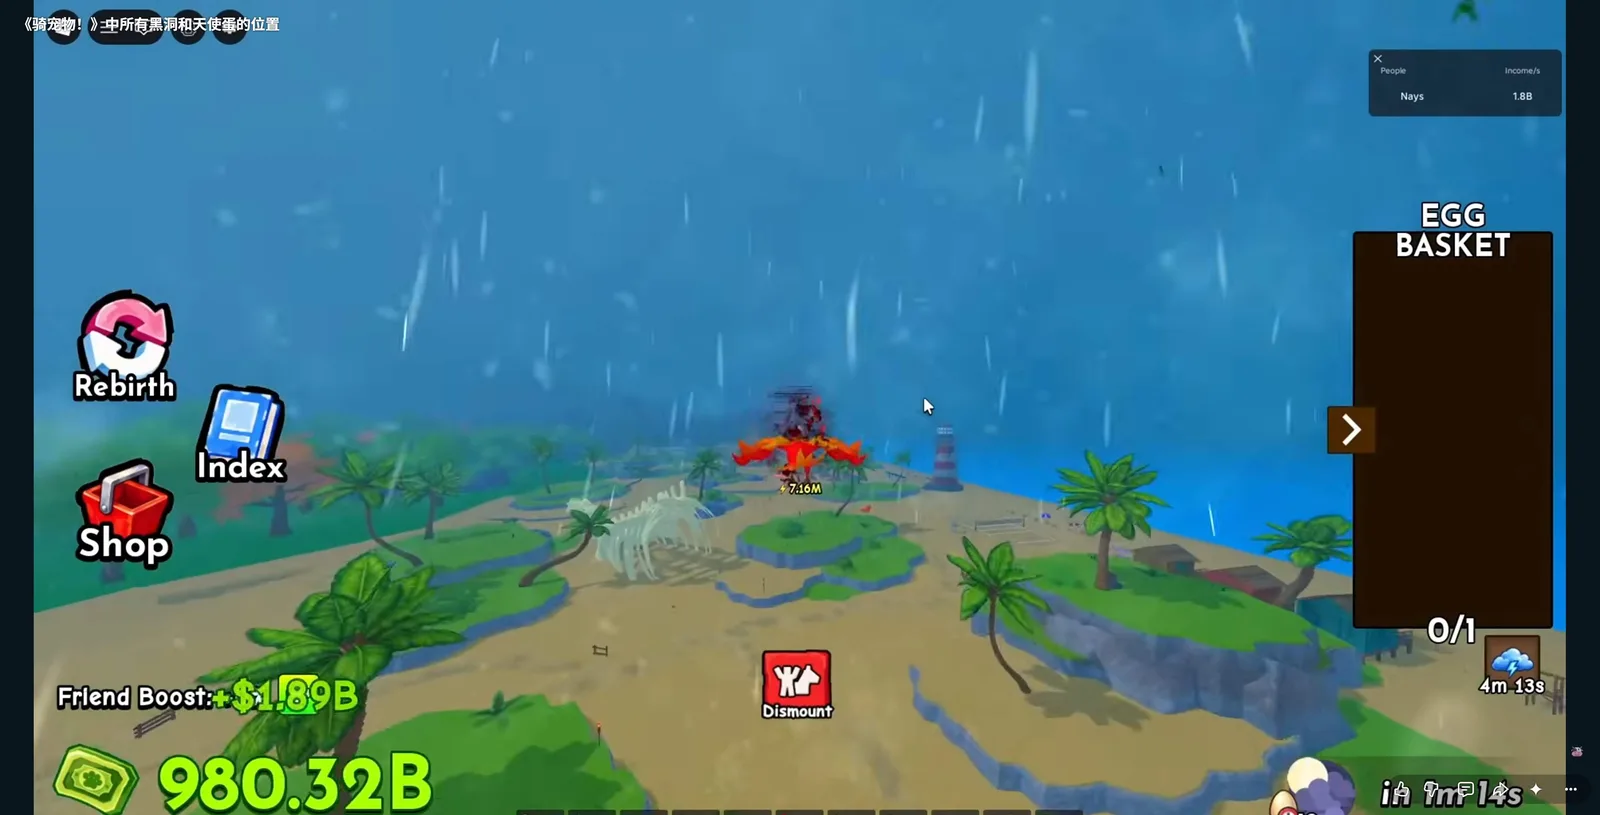
7. Lighthouse island
Cross toward the beach island recognizable by its lighthouse, palms and white rock arch. Inspect the sandy ground in the pictured area; do not substitute any island that lacks those landmarks.
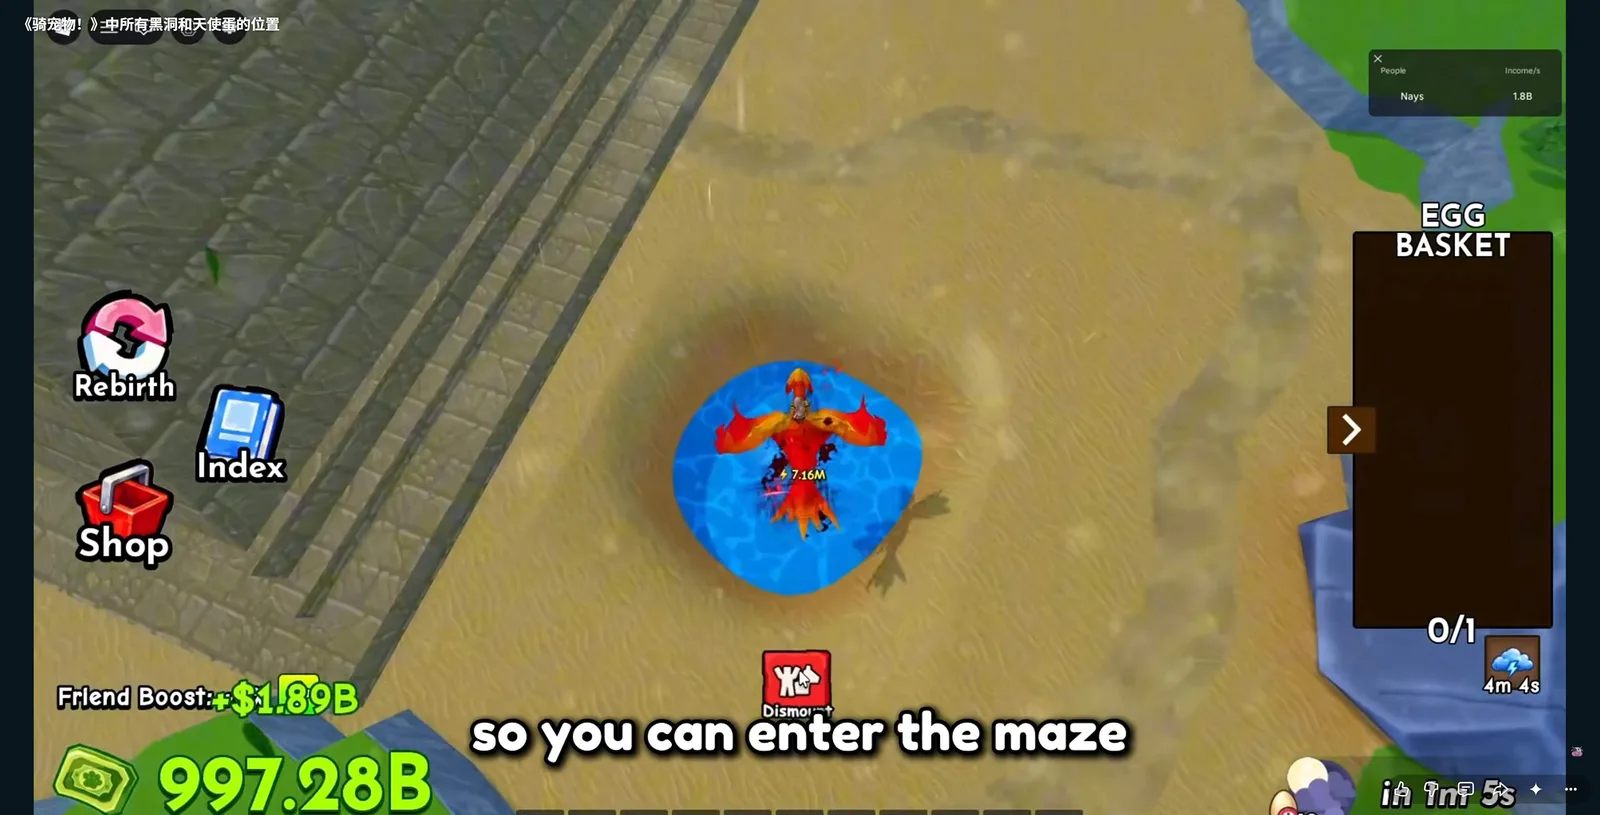
8. Desert maze
Find the sandstone pyramid area and the small blue pool beside it. The recording presents the pool as the way into the maze. Try its current entry interaction and inspect the corridors once inside; flying over the walls is not the same as searching the interior. If the pool no longer leads in, mark this access route unverified rather than repeatedly trying to force the old transition.
9. Mountain-top chamber
Climb toward the summit room shown here. The stone-brick interior, ladder and torches distinguish this stop from an ordinary cave. Inspect the room itself before returning outside.
10. The map edge
The creator calls this the “offside of the map”; the frame shows dark sloping terrain. Treat it as a visual outer-ground checkpoint, not an instruction to cross a current collision wall or leave the playable world. If that terrain is inaccessible in your version, record the mismatch and continue to the recognizable tree stops.
11. Inside the giant tree
Reach the giant tree’s interior room. Compare the workbench/bar, shelf, barrels and hanging lanterns with the frame marked #11; search the marked shelf area rather than only circling the trunk outside.
12. Top of the giant tree
Use a suitable mount or an available route to the upper trunk and canopy. The frame marked #12 shows branches high above the ground. If you cannot reach them with your current movement options, record this as an unsearched stop, not an empty one.
How to run the route
- Prepare a return path. Identify your ranch and an available nest/basket interaction before the long sweep. The egg handling guide separates the old pickup picture from current capacity rules.
- Practice the four waterfall checks together. Match the shelf, river, mouth and upper ledge. No sub-minute completion time is promised.
- Continue in the numbered order for a learning run. The original runner uses a fast flying mount. That demonstrates access in the recording, not a required speed statistic or proof a new player can copy every segment.
- Keep “searched,” “unreachable” and “found” separate. Inspecting an empty room does not prove a spawn is broken; being unable to enter it does not prove it is empty.
- After a current signal, take the closest relevant leg. Confirm the egg name on arrival. No fixed sixty-second deadline or guaranteed race win is inferred from the HUD.
What if the route or egg is missing?
- Landmark matches, no egg: finish the local check, mark it searched and move on. The recording is not a live spawn feed; another player, a different location or a different current rule may explain absence.
- Entrance or terrain differs: stop that leg and compare the specific image/recording scene. Note the missing landmark, current event/version and whether you could enter; do not label an inaccessible area “cleared.”
- An object is present but cannot be picked up: read its name/prompt and your basket state. The current prompt decides the next interaction; the footage does not establish a universal capacity or expiry rule.
- You need a current fix: send the checkpoint number, screenshot, event/version and observed signal through the site’s correction contact. For game behavior, use the community linked by the official Roblox experience.
Sources and what they establish
- Nay_Kows’ original recording and retained route frames above: direct visual evidence for the old landmarks; exact client build and current completeness unverified.
- Official Roblox event listing, reviewed 4 November 2026: later Fuse/Halloween/Parkour/Heaven/Void titles and UTC windows. It does not publish this twelve-point spawn table.
- Official Heaven event,24–27 October, and Void event,31 October–3 November 2026: dated update context, not evidence of a changed coordinate or current egg pool.
Related Articles
eggs
Ride A Pet Blackhole Egg: Identification and Search Route
Recognize the Blackhole Egg alert and photographed pickup, follow the dated landmark route, and separate 100B luck text from unknown hatch odds.
eggs
Ride A Pet Easter Egg: Striped Shell Location Reference
Identify the striped Easter-style egg in a dated grassland screenshot, follow its rock-ledge landmark, and see what the old Index does not prove.
eggs
Ride A Pet Egg Locations: Routes, Index Labels and Pickup
Find a dated egg search route, read the retained Index map/luck labels accurately, and separate pickup, basket capacity and unknown spawn timers.
Was this helpful?
Thanks for the feedback!